
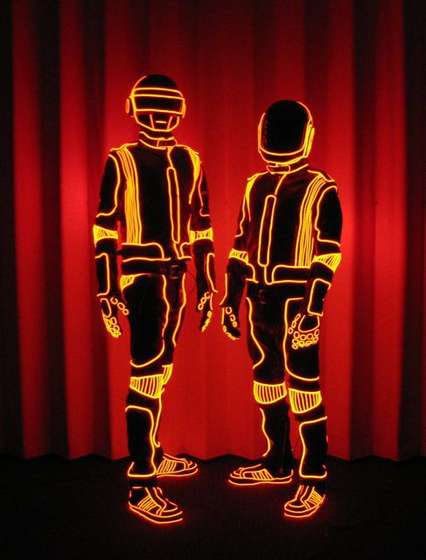
Learn How to Make a Daft Punk Helmet in 2 days!
How to Make a Daft Punk Helmet in 2 Days
Let’s get started…
Materials Needed:
I would recommend collecting all the materials first, so you have everything ready. The main items that you will probably need to buy online include the motorcycle helmet and the LED belt buckle (links are included down below).
1. Chrome Novelty Motorcycle Helmet – I used this one and I would recommend it:
Click here:
Novelty Eagle Chrome Chopper Biker Motorcycle Helmet (Medium)

Another Option:
Skid Lid Helmets Original Half Helmet Chrome Large L

After you get your helmet, you’re well on your way to making a Daft Punk Helmet!
2. Mask Files from Luchofunk found at this site – You can print them off on sheets of card stock (described below) to be attached to the front of the helmet. You won’t need the ear shapes because we will use a coke can for the ears. Refer to the pictures in the video to see how to assemble the pieces. You can use some sturdy tape or glue to put them on, and wooden sticks or coat hanger wire to give some support (described below).
3. 5 sheets of Card stock – the exact thickness of the paper does not matter too much. You just want a thickness that is thick enough to keep its shape, but not too thick that it can’t be bent. I chose gray in case some was visible it would blend in with the metal. I found mine at an art store. Something like this should work:
Pacon Array Card Stock, 65 lb, White, Letter, 100 Sheets per Pack (101188 )
4. Glue Gun – I found this to be the easiest and fastest bonding method to use with the replacement mirror set (described below). It did a pretty good job of keeping everything in place. A stronger glue may have also worked, but I thought this worked well. Something like this should work:
Hot Melt Glue Gun with 40 Glue Sticks
5. Wooden sticks or Coat hanger wire – You can grab 10 or so wooden sticks from an art store that you can glue along the paper seems to give the card stock front event more support.
6. A coke can that can be cut in half to be used as the ears. 2 tops of a silver spray paint can would also work fine. I had a coke can handy, so I used that.
7. Replacement Mirror Sheets for Car Sideview Mirror – I found mine at an auto supply store (I think it was an AutoZone). These are great for the project because they have a metallic sheen that will look great on the final product. You may also try mirror chrome adhesive backed vinyl. You can try ordering these from amazon, they seem to be pretty much the same product I used:
Cipa USA 01100 Cut And Stick Replacement Lens
8. Programmable LED belt buckle – This is the Custom LED Belt buckle that I used:
Custom LED Screen Belt Buckle (RED)
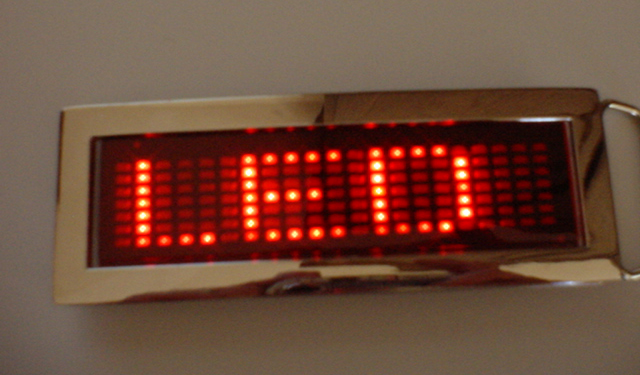
It will it allow to customize whatever message you want into helmet (i.e. Harder, Better, Faster, Stronger, ROBOT etc.). It worked really well for me. You can also try the BLUE COLOR![]() as well…
as well…
9. Thin clear plastic sheet – I found this at an art store. They sold them in big sheet and I just chose a thickness that you could see clearly through and was bendable so that I could shape it to the front of the helmet.
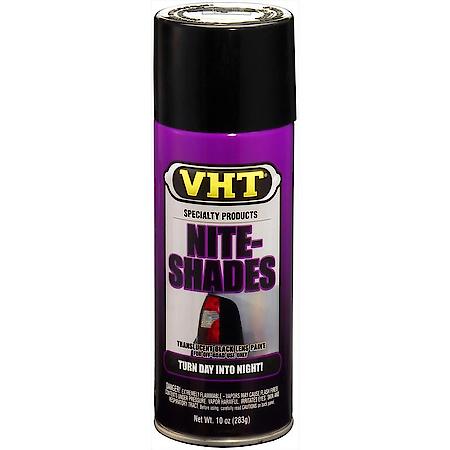
10. Spray-on tint. You can find this at the auto supply store. I got mine at Autozone. Here’s an Amazon link if you that’s easier for you:
VHT SP999 Nite-Shades Lens Cover Tint Translucent Black Paint Can – 10 oz.
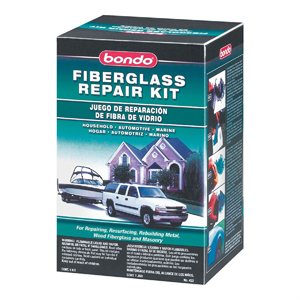
11. (Optional) Fiberglass car repair kit – You can skip this step if you are looking to save some time. I thought it gave a little bit more stability to the frame of the mask, but it takes a little bit of time and effort. I found mine at a local hardware store for about $15-20. I think this was the type I used:
Bondo 420 Fiberglass Resin Repair Can Kit – 1/2 Pint
12. Black gloves – Use can use whatever you like. I just used some thin gloves that I had on hand, but you can use whatever you would like. Motorcycle gloves would be the most accurate. These should work pretty well:
Icon Twenty-Niner Gloves (MEDIUM) (BLACK)

Steps:
1. Take all of the black leather and straps and everything off of the helmet. You can use a knife to help with the straps. Try to conserve as much of the chrome parts of the helmet as you can.
2. Print off the Luchofunk files onto the cardstock. You won’t need the ear pieces for this build. You can also print off a set to be traced onto the mirror replacement kit sheets, so that you can cut out mirror shapes for each one.
3. Assemble and tape all of the cutouts to the front of the helmet. Use the video as a guide on how to assemble it. You can use wooden sticks or coats hangers for extra support.
4. Put the fiber glass sheets on the frame that you have assembled on the helmet. As mentioned earlier, this step is optional, but it will give the frame a little bit more support, if you want to spend the time and money.
5&6. Cut out all of the Luchofunk shapes on the mirror sheets and cut your coke can in half.
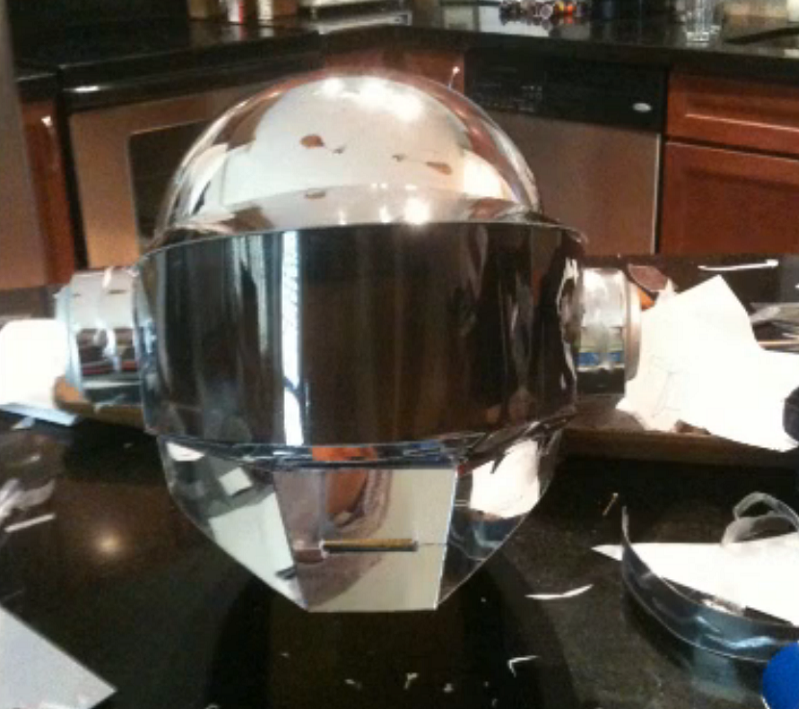
7. Use your glue gun to attach all of the metallic shapes and the coke can to the helmet. After this step the helmet should start to look like the real thing.
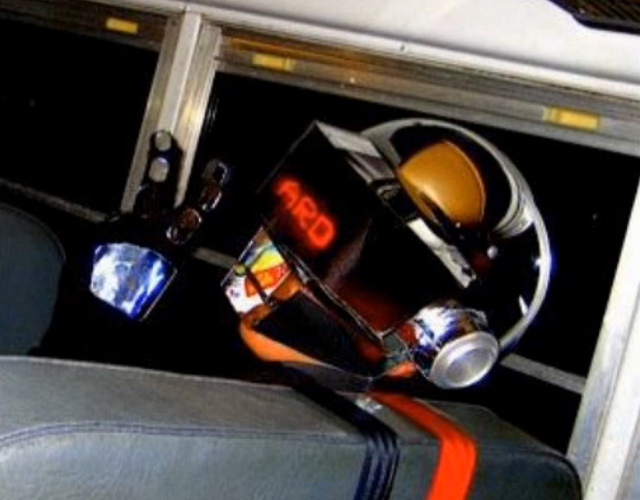
8. Program the LED belt buckle to say whatever you like – lyrics from Daft Punk, etc… then you can tape the LED buckle to the bottom portion of the visor. I also used some of the glue gun to get it firmly attached. Make sure there is enough room to see over the top, or you will be walking around blind with the helmet on.
9. Cut out the visor shape using the clear plastic sheet. After you get the shape, you can spray paint it with the spray-on tint that you bought. I had to do this step a few times to get the right combination of tint, while still being able to see through visor.
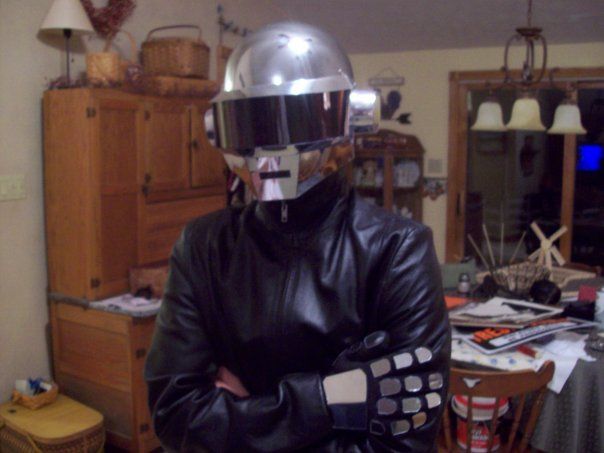
10. Enjoy your creation!
p.s. You can also trick out your helmet with some EL Wire seen here:
You can purchase that stuff here!
Please feel free to comment with any questions you may have. I will try to help as I can.
Special Thanks to Zachariah Perry Cruse who discovered a lot of the method that I outlined here.
Find more info @ http://www.instructables.com/id/DJ-hero-Chrome-Daft-Punk-Helmet/

-RSB
↓↓↓↓↓↓↓↓↓↓↓↓↓↓↓↓↓↓↓↓↓↓↓↓↓↓↓↓
Follow us on Facebook for additional updates
On Instagram? Find me @RobotSpaceBrain
Check out these other posts on RobotSpaceBrain:


Pingback: RobotSpaceBrain » Blog Archive » How to Build a Daft Punk Helmet