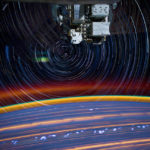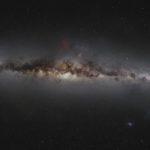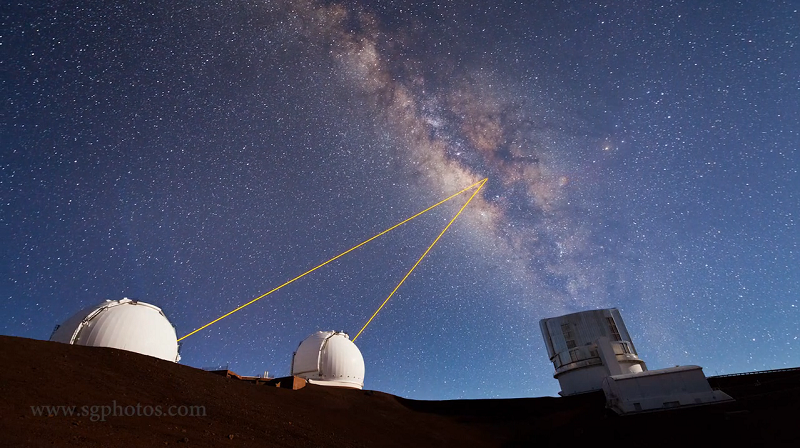
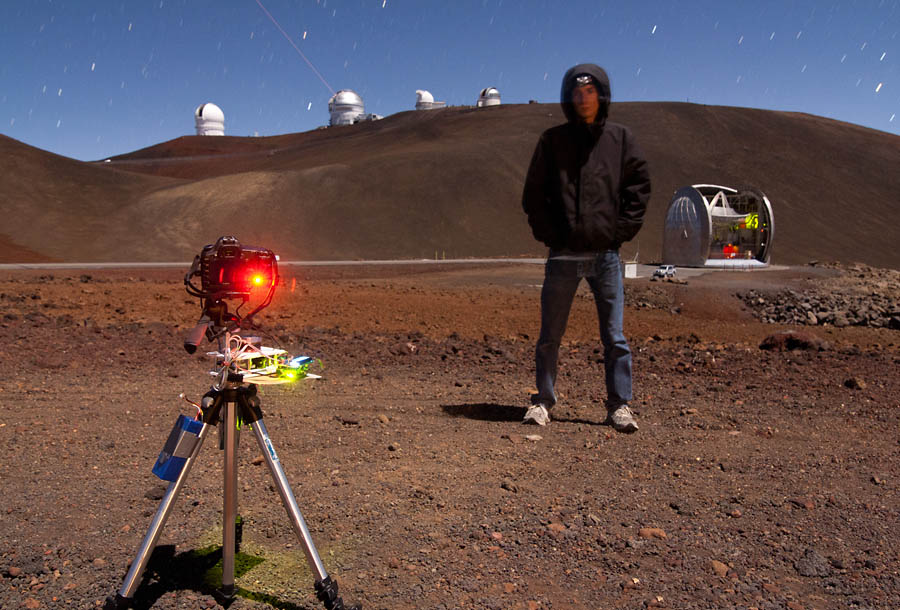
Wow! This is one of the coolest time-lapse videos I’ve ever seen. Sean Goebel, an astronomy graduate student, ascended the 14,000 ft summit of Mauna Kea in Hawaii to capture the observatories at work. The footage was filmed over three nights last April, and yes, the lasers are real.
So what do the lasers do?
They function on the principle of adaptive optics. In brief, they are extremely powerful 15-40 watt lasers (1000+ times more powerful than your laser pointer) that track atmospheric turbulence. Winds in the atmosphere can blur out the fine detail of the stars (the reason stars twinkle), and the telescope can use the information from the lasers to make slight adjustments to cancel out the blurring. This ultimately creates a better image of the sky.
What kind of gear was used?
Straight from Sean:
“I shot the montage on a Canon 5D Mk. II and an old-as-dinosaurs Rebel XT. I’m trying to run the XT into the ground (the shutter is rated for 50,000 photos and I’ve taken about 70,000), but it refuses to die, so I keep using it. When the shutter dies, I plan to fill the mirror box with dirt, plant a cactus in it, and then buy an actually decent second body. Anyway, the 5D II was usually paired with either a Rokinon 24mm f/1.4 or a Tokina 16-28mm f/2.8, and the Rebel XT was usually used with a Tokina 11-16mm f/2.8. Additionally, a Rokinon 14mm f/2.8, Nikon 14-24mm f/2.8, Bower 35mm f/1.4, and a Sigma 50mm f/1.4 were each used for one scene. I also used a home-built rotary table to create camera motion in some of the scenes. My timelapse dolly lives in a closet in California, so it wasn’t used in this montage.”
I shot all my images in RAW format (yep, that’s a lot of space). Images were edited in Adobe Camera Raw (part of the Photoshop suite). To add adjustable crops/white balance/etc., I ran the images through a moderately buggy program called LRTimelapse. Images were resized to 1080p in Photoshop and saved as jpgs. A few sequences were run through Virtual Dub with MSU Deflicker (for deflickering) or After Effects (for stabilization). The final video was edited together in Adobe Premiere.”
Well I’m certainly impressed!
Find still shots and more information at Sean’s site.
-RSB